Revolutionize Your Home: Say Goodbye to Drafts with Blown In Insulation Vacuum
Introduction
Drafts under doors and chilly floors can turn your cozy home into an energy guzzler. Fortunately, a blown in insulation vacuum offers a smart solution for sealing gaps and boosting comfort. By injecting loose-fill insulation—such as cellulose or fiberglass—into floor cavities, you create a seamless thermal barrier that locks out cold air, dampens sound and slashes heating bills. In this article, we’ll explore why a blown in insulation vacuum is the game-changer your home needs and outline best practices for installation and maintenance.
H2: Benefits of Blown In Insulation Vacuum
Energy Efficiency
• Air‐sealing performance: Loose insulation fills every crack and crevice between floor joists, preventing heat loss and maintaining consistent indoor temperatures.
• Lower utility bills: Properly installed blown-in insulation can reduce heating and cooling costs by up to 20%, paying for itself in a few seasons.
Soundproofing and Comfort
• Noise reduction: The dense fibers absorb impact and airborne noise, making multi-story homes quieter.
• Consistent warmth: Even heat distribution means no more cold spots or chilly drafts near stairwells and hallways.
Structural Protection and Longevity
• Moisture control: High-quality cellulose treated with borate resists mold and pests, protecting wood framing and subfloors.
• Durable performance: Unlike batt insulation that sags over time, blown-in materials remain stable, retaining their R-value for decades.
Environmentally Friendly Choice
• Recycled content: Cellulose insulation often contains up to 85% post-consumer newspaper, reducing landfill waste.
• Non-toxic: No off-gassing chemicals means safer indoor air quality for families and pets.
H2: How to Properly Use a Blown In Insulation Vacuum
Step 1: Assess and Prepare
• Inspect existing insulation to determine if removal or topping-up is needed.
• Clear the work area of furniture, stored items and obstacles that may impede hose access.
• Seal obvious air leaks around vents, pipes and wiring with caulk or expanding foam.
Step 2: Select the Right Insulation Material
• Fiberglass: Lightweight, non-allergenic and moisture-resistant—ideal for humid climates.
• Cellulose: Superior air-sealing and environmental credentials, with natural fire retardants.
• Mineral wool: Fireproof and water-repellent, great for areas prone to high heat or moisture.
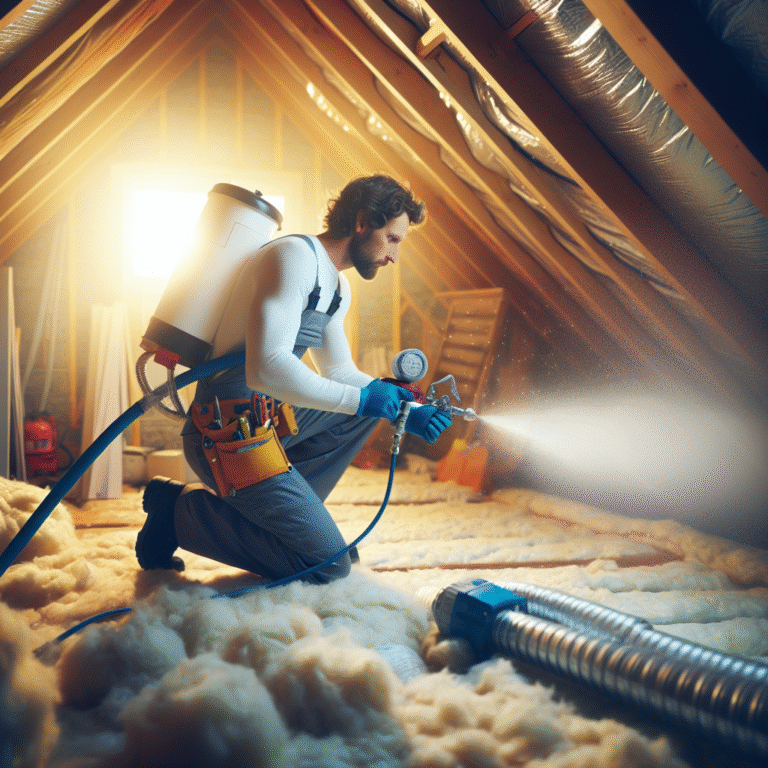
Step 3: Equipment Setup
• Position the blower machine outside or in a well-ventilated garage to minimize indoor dust.
• Attach the long, flexible hose and feed it through drilled access points in the subfloor.
• Wear protective gear—dust mask, goggles, gloves and coveralls—to guard against airborne particles.
Step 4: Controlled Blowing Technique
• Start at the farthest corner and work back toward the access point to ensure even coverage.
• Maintain a steady hose angle and speed, avoiding over-compaction by keeping the nozzle moving.
• Monitor insulation depth periodically with a depth gauge or marked stick until you reach the recommended R-value (usually R-30 to R-38 between floors).
Step 5: Clean Up and Seal
• Vacuum any loose dust or stray fibers from the work area before removing protective sheeting.
• Seal access holes with durable plywood or filler panels, then caulk and repaint for a seamless finish.
• Store excess insulation material in a dry, protected space for future touch-ups.
H2: Common Mistakes to Avoid with Blown In Insulation Vacuum
Neglecting Air Sealing
• Failing to seal gaps before blowing in insulation allows cold air bypass and reduces overall performance.
Overfilling or Underfilling
• Too little insulation leaves thermal weak spots; too much can overcompress fibers and lower R-value. Follow manufacturer guidelines carefully.
Skipping Professional Advice
• DIY can save money, but improper density or material choice may void warranties and lead to costly energy losses. Consult an insulation specialist for complex layouts.
Poor Ventilation During Installation
• Inadequate ventilation traps dust and irritants inside living areas. Always ensure fresh airflow or work during cooler, low-occupancy hours.
Conclusion
Investing in a blown in insulation vacuum transforms leaky, drafty floors into quiet, energy-efficient living spaces. By selecting the right insulation type, preparing your home with thorough air sealing and mastering the blown-in technique, you can enjoy immediate comfort improvements and long-term savings. Say goodbye to cold drafts, high utility bills and uneven temperatures—revolutionize your home today with a blown in insulation vacuum.