Revamp Your Home’s Comfort: Blown In Insulation Between Floors
Introduction
Revamping your home’s comfort often starts with addressing hidden problem areas—like the space between floors. Blown in insulation between floors fills in gaps and crevices that traditional batt insulation can’t reach. By evenly distributing loose-fill materials such as fiberglass or cellulose, this method seals off drafts, reduces noise transfer, and boosts energy efficiency. In this guide, we’ll explore why blown in insulation between floors is a smart upgrade and how to choose and install it effectively.
H2: Benefits of Blown In Insulation Between Floors
1. Superior Noise Reduction
• Sound Barrier: Loose-fill cellulose or fiberglass fibers absorb footsteps, voices, and appliance hums, creating a quieter home environment.
• Improved Privacy: Home offices, nurseries, and bedrooms stay calm and distraction-free.
2. Enhanced Thermal Performance
• Even Temperatures: By blocking heat flow through floor joists, blown in insulation between floors keeps lower levels warmer in winter and cooler in summer.
• Balanced HVAC Load: Your heating and cooling system works less, extending its lifespan and reducing maintenance.
3. Lower Energy Bills
• Airtight Seal: Filling every nook prevents air leakage and heat loss, cutting heating and cooling costs by up to 20%.
• Quick Return on Investment: Energy savings often offset installation costs within a few years.
4. Fire Safety and Durability
• Fire-Retardant Additives: Many blown in cellulose products are treated with chemicals that slow flame spread.
• Long-Lasting Insulation Value: Unlike batts that sag or shift, properly installed loose fill maintains its R-value over decades.
5. Eco-Friendly Choice
• Recycled Content: Cellulose insulation is made from post-consumer paper, minimizing landfill waste.
• Reduced Carbon Footprint: Improved energy efficiency means fewer greenhouse gas emissions.
6. Cost-Effective Installation
• Fast Application: Professionals can insulate multiple rooms in a single day with blowing machines.
• Minimal Disruption: Access holes are small and easily patched when the job is done.
H2: How to Install Blown In Insulation Between Floors
1. Assess Your Needs
• Measure the square footage and desired R-value for your climate zone.
• Choose between fiberglass or cellulose based on performance, budget, and environmental priorities.
2. Prepare the Space
• Clear Obstructions: Remove debris, old insulation, and loose materials from between the joists.
• Seal Major Gaps: Caulk or foam-seal any large cracks to prevent air infiltration.
3. Create Access Points
• Drill evenly spaced, small holes in the subfloor of the upper level or the ceiling below.
• Keep hole sizes just large enough for the blower hose—usually 2 to 3 inches in diameter.
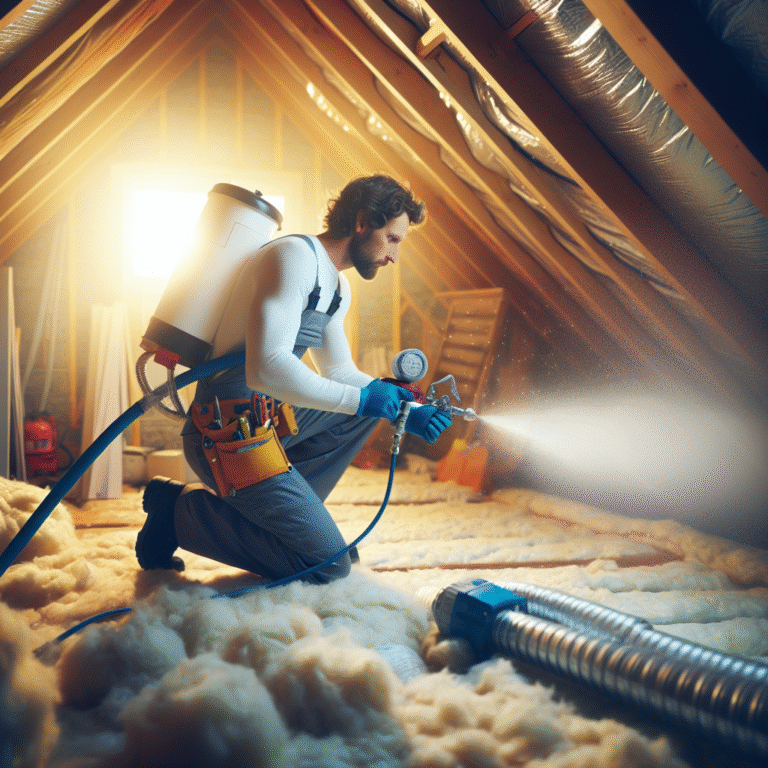
4. Blow in Insulation
• Rent or hire a professional with a high-capacity blowing machine.
• Distribute material evenly, moving the hose systematically across the cavity to avoid voids.
• Periodically check coverage depth from below or above to ensure consistent fill.
5. Finish and Clean Up
• Plug and seal access holes with plywood or drywall.
• Vacuum residual dust and debris to leave the space clean.
• Inspect for any missed spots or settling after a few weeks and top up if necessary.
H2: Factors to Consider When Choosing Blown In Insulation Between Floors
1. Material Type
• Cellulose: Higher recycled content, superior sound dampening, and fire-retardant treatments.
• Fiberglass: Moisture resistant, non-combustible fiber, and slightly lower upfront cost.
2. R-Value Requirements
• Local Building Codes: Verify minimum R-values for floor insulation in your region.
• Long-Term Goals: Higher R-values pay off over time in energy savings.
3. Moisture Management
• Vapor Barriers: In humid or below-grade spaces, consider adding a vapor retarder to prevent mold growth.
• Insulation Treatment: Ensure fiberglass is formaldehyde-free and cellulose is properly treated.
4. Installation Expertise
• DIY vs. Professional: Renting a blower is possible for experienced DIYers, but pros provide better guarantees of coverage and performance.
• Warranty and Cleanup: Professionals often include cleanup and a coverage warranty.
5. Budget and ROI
• Material and Labor Costs: Compare quotes for different insulation types and installer rates.
• Energy Savings Estimate: Use online calculators to project annual cost reductions.
H2: Q&A
Q1: What exactly is blown in insulation between floors?
A1: It’s loose-fill material—fiberglass, cellulose, or mineral wool—blown into the joist cavities to create an airtight, thermal and acoustic barrier.
Q2: How long does blown in insulation last?
A2: With proper installation, loose-fill insulation retains its R-value for 30 years or more, as it doesn’t settle significantly over time.
Q3: Can I install blown in insulation between floors myself?
A3: If you have experience with power tools and follow safety guidelines (protective gear, dust control), you can DIY. For guaranteed coverage and fewer callbacks, hiring a certified insulation contractor is recommended.
Conclusion
Investing in blown in insulation between floors transforms your multi-level home into a quieter, more energy-efficient sanctuary. From cutting utility bills and balancing temperatures to enhancing fire safety and sustainability, the advantages are wide-ranging. Whether you choose a professional installation or tackle the project yourself, this versatile insulation method delivers long-lasting comfort and savings. Revamp your home’s comfort today by sealing those hidden floor cavities and enjoy a cozier, greener living space.