Table of Contents
1. Introduction
2. H2: Why Blown-In Insulation with Spray Foam Delivers Unmatched Performance
3. H2: Why Durable Insulation Matters for Your Home
4. H2: How to Calculate Blown-In Insulation for Maximum Efficiency
5. H2: Maximizing Energy Savings with Spray Foam Blown-In Insulation
6. H2: Q&A
7. Conclusion
Introduction
Enhancing your home’s comfort and lowering utility bills starts with the right insulation. Blown-in insulation—especially when paired with durable spray foam—fills every crevice, sealing out drafts and moisture. In this article, we’ll explore how to calculate the amount of blown-in insulation you need, uncover the advantages of spray foam, and share practical tips for maximizing energy efficiency. Ready to make your home cozier and more cost-effective? Let’s dive in.
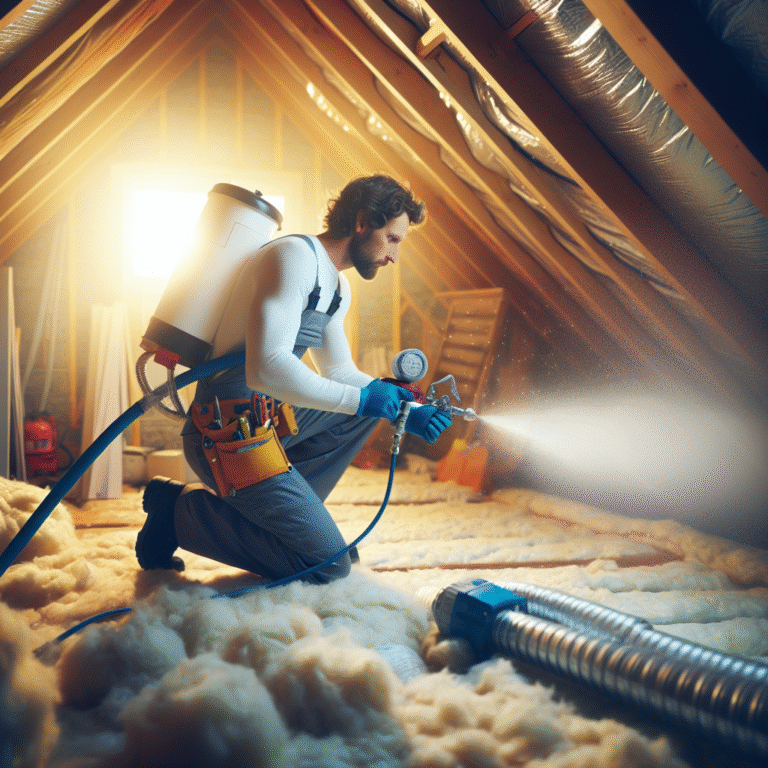
Why Blown-In Insulation with Spray Foam Delivers Unmatched Performance
Spray foam has revolutionized blown-in insulation by combining two key traits: expansion and adhesion.
• Superior R-Value per Inch
– Closed-cell spray foam boasts an R-value up to 7 per inch, outpacing fiberglass and cellulose.
– This high thermal resistance means thinner layers achieve top performance, saving space and material costs.
• Airtight Seal and Moisture Barrier
– As it expands, spray foam fills tiny gaps, eliminating air leaks that drive up heating and cooling expenses.
– The closed-cell structure repels water, preventing mold, mildew, and wood rot in attics and crawl spaces.
• Sound Dampening
– The dense, uniform foam layer absorbs sound waves, reducing noise from traffic, neighbors, or household appliances.
• Long-Term Durability
– Unlike loose-fill fibers that settle over time, spray foam maintains its shape and insulating power for decades.
– Pest resistance further extends lifespan—no nests, no chewed-through insulation.
Why Durable Insulation Matters for Your Home
Your choice of insulation sets the stage for comfort, health, and energy savings. Durable blown-in insulation:
1. Reduces Heating and Cooling Costs
A continuous thermal barrier keeps indoor temperatures steady, easing strain on HVAC systems.
2. Improves Indoor Air Quality
By blocking drafts, blown-in insulation prevents pollen, dust, and pollutants from entering your living spaces.
3. Preserves Structural Integrity
Moisture-resistant spray foam guards against rot and corrosion in roof decks and wall cavities.
4. Enhances Home Value
Prospective buyers recognize the long-term energy savings and comfort that high-quality insulation provides.
How to Calculate Blown-In Insulation for Maximum Efficiency
Accurately calculating your blown-in insulation needs ensures you neither overbuy nor underperform. Follow these steps:
1. Determine Your Target R-Value
– Check local building codes or consult an energy auditor for recommended R-values by climate zone.
– Attics often require R-38 to R-60; walls may need R-13 to R-21.
2. Measure the Area to Be Insulated
– Multiply length × width to get square footage for each zone (attic floor, walls, crawl spaces).
3. Calculate Required Insulation Depth
– Use the formula: Area × Target R-Value = Total R-Inch Requirement.
– Example: 1,000 sq. ft. attic at R-50 → 1,000 × 50 = 50,000 R-inches.
– Divide R-inches by foam’s R-value per inch: 50,000 ÷ 7 ≈ 7,143 foam-inches → about 595 foam-feet.
4. Convert to Bags or Board Feet
– Spray foam is often sold by board feet (1 board foot = 1 sq. ft. at 1″ thick).
– Divide total foam-feet by board-foot coverage per kit.
5. Factor in Settling and Overspray
– Add 5–10% extra material for waste, hard-to-reach spots, and settling.
Maximizing Energy Savings with Spray Foam Blown-In Insulation
Beyond the calculation, follow these best practices to ensure optimal performance:
• Seal Air Leaks First
Use caulk or low-expansion foam to close large gaps around windows, doors, and plumbing penetrations before insulation.
• Insulate in Layers
Apply a base layer of loose-fill material (cellulose or fiberglass) for quick coverage, then top-coat with spray foam for an airtight finish.
• Maintain Proper Ventilation
Pair spray foam with soffit and ridge vents or an energy-recovery ventilator (ERV) to manage indoor humidity and air quality.
• Work with Certified Installers
Proper mixing, temperature control, and spray technique are critical for uniform expansion and adhesion.
Q&A
1) What makes spray foam blown-in insulation different from traditional loose-fill?
Spray foam expands and bonds to surfaces, creating an airtight, moisture-resistant barrier. Loose-fill materials rely on density alone and can settle over time.
2) Can I install blown-in insulation myself?
While loose-fill fiberglass or cellulose can be DIY, spray foam requires specialized equipment and training. Professional installation ensures safety and optimal results.
3) How soon will I see energy bill savings?
Many homeowners notice a 20–40% reduction in heating and cooling costs immediately after installation, with continued savings over the life of the foam.
Conclusion
Investing in durable blown-in insulation—especially when enhanced with spray foam—delivers measurable comfort, health, and savings benefits. By accurately calculating your insulation needs and partnering with certified professionals, you can transform drafty attics and walls into efficient thermal envelopes. Ready to maximize your home’s comfort and savings with blown-in insulation? Start your project today and enjoy a quieter, more energy-efficient living space for years to come.