Maximize Energy Savings: The Ultimate Guide to Blown-In Attic Insulation
Introduction
Blown-in attic insulation is one of the smartest investments a homeowner can make to cut energy bills, boost indoor comfort, and shrink their carbon footprint. Whether you live in a sweltering summer climate or a wintry region, heat transfer through your attic can account for up to 25% of your home’s energy loss. This ultimate guide will walk you through the benefits, materials, installation process, and decision-making factors you need to know to maximize energy savings with blown-in attic insulation.
H2: Benefits of Blown-In Attic Insulation
1. Superior Thermal Performance
Loose-fill insulation particles—whether fiberglass, cellulose, or mineral wool—form a continuous blanket over joists and beams, sealing gaps and voids that batt insulation often misses. The result is more consistent temperature control year-round and reduced strain on your HVAC system.
2. Significant Energy Savings
The U.S. Department of Energy estimates that proper attic insulation can save homeowners up to 20% on heating and cooling costs. By preventing warm indoor air from escaping in winter and keeping hot outdoor air at bay in summer, blown-in attic insulation translates directly into dollar savings on your monthly utility bills.
3. Environmentally Responsible Choice
Many blown-in materials use recycled content—cellulose, for instance, is made mostly from recycled newspaper treated with fire retardants. Choosing eco-friendly insulation reduces landfill waste and lowers the embodied energy of your home improvements.
4. Quick, Efficient Installation
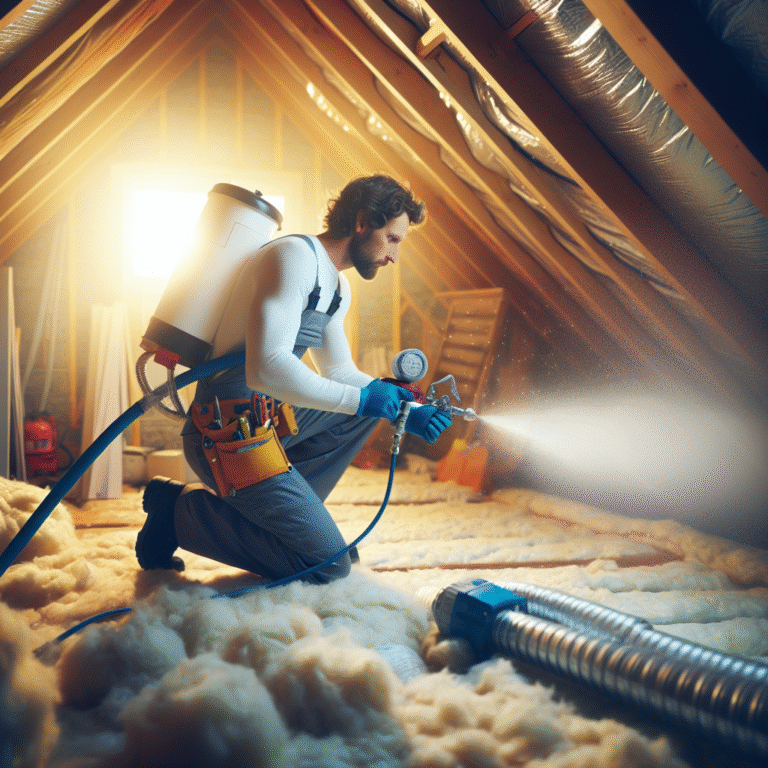
Professional installers use specialized blowers to deliver insulation deep into hard-to-reach corners, around wiring and plumbing runs, and beneath eaves. A typical 1,000-square-foot attic can be fully insulated in just a few hours, minimizing disruption to your household.
5. Long-Term Durability
Unlike loose batt insulation that can sag or shift, properly installed blown-in attic insulation resists settling for decades. It also repels pests, resists mold growth, and maintains its R-value over time, ensuring lasting comfort and savings.
H2: How Blown-In Attic Insulation Works
Blown-in attic insulation—also known as loose-fill insulation—relies on thousands of tiny fibers or particles to create a tightly packed thermal barrier. Here’s the process in a nutshell:
• A hopper feeds insulation material into a high-velocity blower.
• The contractor blows the material through a hose into the attic cavity.
• The particles expand and interlock, conforming to every nook and cranny.
This method ensures uniform coverage over your ceiling deck, perimeter walls, and around obstructions, eliminating cold spots and thermal leaks.
H3: Material Options Compared
– Fiberglass: Lightweight, noncombustible, and moisture-resistant, fiberglass loose-fill offers reliable performance at a moderate cost.
– Cellulose: Composed of recycled paper, cellulose delivers a high R-value per inch and excellent air-sealing characteristics, though it may absorb moisture if not properly protected.
– Mineral Wool: Made from rock or slag fibers, mineral wool boasts superior fire resistance and sound-dampening qualities, with a slightly higher price tag.
H2: Choosing the Right Blown-In Attic Insulation
1. Determine Your Recommended R-Value
Climate zones dictate the ideal R-value for attic insulation. In colder regions, R-49 to R-60 is common; in milder zones, R-38 to R-49 may suffice. Consult local building codes or an energy auditor to find your target.
2. Weigh Material Pros and Cons
Consider moisture levels, fire codes, soundproofing needs, and environmental priorities when selecting between fiberglass, cellulose, and mineral wool.
3. Budget vs. Long-Term Value
While upfront costs vary, factor in energy savings, maintenance-free performance, and potential tax incentives or rebates for energy-efficient upgrades.
H2: Installation Process and Tips
– Pre-Installation Assessment: A professional should inspect existing insulation, air leaks, ventilation, and moisture issues.
– Air Sealing First: Seal gaps around attic hatches, wiring penetrations, and ductwork to prevent convective heat loss.
– Proper Ventilation: Maintain soffit and ridge vents to prevent moisture buildup and roof deck damage.
– Protective Gear: Installers should wear respirators, gloves, and protective clothing; homeowners may need temporary relocation during installation.
Post-installation, a thermal imaging scan can verify uniform coverage and identify any missed areas.
H2: Q&A About Blown-In Attic Insulation
Q: How soon will I recoup my investment?
A: Most homeowners see payback within 2–5 years through lower energy bills, depending on local energy rates and usage patterns.
Q: Can I DIY my blown-in insulation?
A: While rental blowers are available, professional installation ensures correct density, proper air sealing, and full warranty coverage.
Q: Will it settle over time?
A: Quality cellulose may settle up to 10% in the first year; fiberglass and mineral wool remain virtually unchanged when installed at the recommended depth.
Conclusion
Maximizing energy savings with blown-in attic insulation is both practical and cost-effective. By choosing the right material, achieving the proper R-value, and hiring experienced professionals for installation, you’ll enjoy lower energy bills, enhanced comfort, and a more sustainable home. Ready to transform your attic into an efficient thermal barrier? Invest in blown-in attic insulation today and start reaping the rewards of a well-insulated home.