Slash Your Energy Bills: DIY Attic Insulation Cost Guide

“Effortlessly insulate your attic with DIY blow-in insulation – the smart and cost-effective choice for a comfortable home.”

Introduction

DIY blow-in insulation for attics is a popular and cost-effective method for improving the energy efficiency of a home. This type of insulation involves using a machine to blow loose insulation material, such as fiberglass or cellulose, into the attic space. It is a relatively simple and quick process that can be done by homeowners themselves, making it a popular choice for those looking to save money on professional installation costs. In this introduction, we will discuss the benefits of DIY blow-in insulation for attics and provide some tips for successfully completing the project.

The Benefits of DIY Blow-In Insulation for Your Attic

Insulating your attic is an essential step in maintaining a comfortable and energy-efficient home. It helps to regulate the temperature, reduce energy costs, and prevent damage to your roof. While there are various types of insulation available, one popular option is DIY blow-in insulation for attics. This type of insulation is easy to install, cost-effective, and offers numerous benefits for homeowners. In this article, we will explore the benefits of DIY blow-in insulation for your attic.

First and foremost, DIY blow-in insulation is a cost-effective option for insulating your attic. Unlike traditional insulation methods, such as fiberglass batts or rolls, blow-in insulation is relatively inexpensive. You can purchase the necessary equipment and materials at a fraction of the cost of hiring a professional insulation contractor. This makes it an attractive option for homeowners on a budget.

Moreover, DIY blow-in insulation is easy to install. You do not need any special skills or training to install it. The process involves using a machine to blow loose-fill insulation into your attic space. The machine can be rented from a home improvement store, and the process can be completed in a matter of hours. This means that you can save both time and money by choosing to install the insulation yourself.

Another benefit of DIY blow-in insulation is its ability to fill small gaps and crevices in your attic. Unlike traditional insulation methods, which can leave gaps and spaces, blow-in insulation can be easily blown into even the tiniest of spaces. This ensures that your attic is fully and evenly insulated, providing maximum energy efficiency. Additionally, the loose-fill insulation can conform to any shape or size, making it ideal for attics with irregular shapes or obstacles.

Furthermore, DIY blow-in insulation is an environmentally friendly option. The insulation material is typically made from recycled materials, such as shredded newspaper or cellulose fibers. This means that it is a sustainable and eco-friendly choice for homeowners. Additionally, the insulation material is non-toxic and does not contain any harmful chemicals, making it safe for both you and the environment.

In addition to its cost-effectiveness and ease of installation, DIY blow-in insulation also offers excellent thermal performance. The insulation material has a high R-value, which is a measure of its ability to resist heat flow. This means that it can effectively keep your home warm in the winter and cool in the summer, reducing your energy costs. It also helps to reduce noise transmission, making your home more peaceful and comfortable.

Moreover, DIY blow-in insulation can improve the overall air quality in your home. The insulation material is treated with borate, which acts as a natural pest and mold deterrent. This means that it can help to prevent the growth of mold and mildew in your attic, which can cause health issues for you and your family. Additionally, the insulation material is non-irritating and does not release any harmful particles into the air, making it safe for those with allergies or respiratory issues.

In conclusion, DIY blow-in insulation is a cost-effective, easy to install, and environmentally friendly option for insulating your attic. It offers numerous benefits, including improved energy efficiency, thermal performance, and air quality. By choosing to install DIY blow-in insulation in your attic, you can save money, reduce your carbon footprint, and create a more comfortable and healthy living space for you and your family. So why wait? Start reaping the benefits of DIY blow-in insulation for your attic today.

A Step-by-Step Guide to Blowing Insulation in Your Attic

Slash Your Energy Bills: DIY Attic Insulation Cost Guide
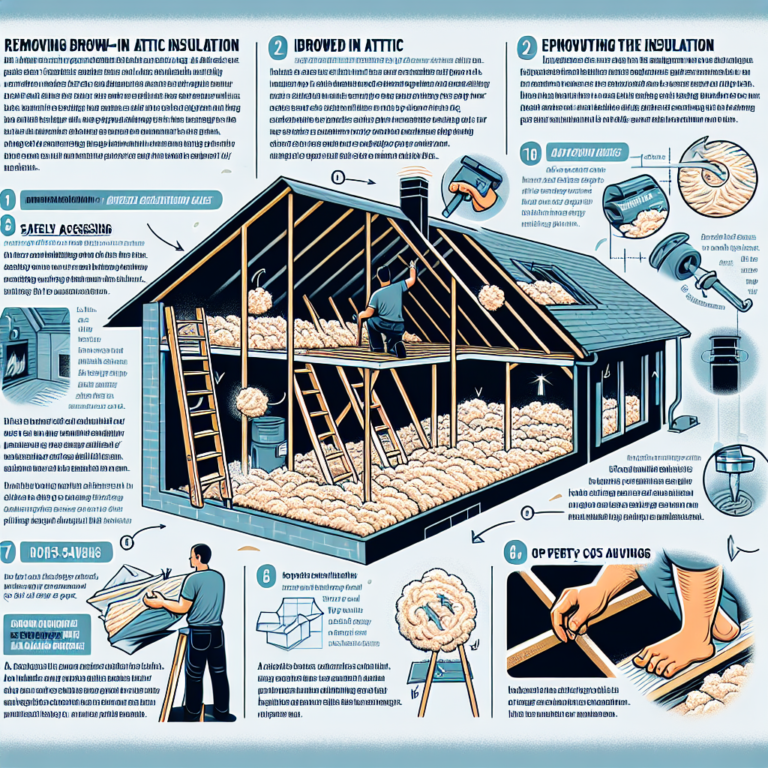
Insulating your attic is an important step in maintaining a comfortable and energy-efficient home. It helps to keep the heat in during the winter and out during the summer, reducing your energy bills and making your home more environmentally friendly. While there are many different types of insulation available, one popular and cost-effective option is blow-in insulation. This type of insulation is easy to install and can be done as a DIY project, saving you money on professional installation fees. In this article, we will provide a step-by-step guide on how to blow insulation in your attic.

Step 1: Gather Materials and Tools
Before you begin, make sure you have all the necessary materials and tools. You will need a blower machine, insulation material (such as cellulose or fiberglass), a ladder, protective gear (gloves, goggles, and a mask), and a helper to assist you. It is important to wear protective gear to avoid any irritation from the insulation material.

Step 2: Prepare the Attic
Next, you will need to prepare your attic for the insulation process. Start by clearing out any debris or objects that may be in the way. This will ensure that the insulation is evenly distributed and not blocked by any obstacles. You should also seal any air leaks or gaps in the attic to prevent the insulation from escaping.

Step 3: Load the Blower Machine
Now it’s time to load the blower machine with the insulation material. Follow the manufacturer’s instructions for loading the machine and make sure it is securely attached to the blower. It is recommended to have your helper hold the machine while you load it to prevent any accidents.

Step 4: Start Blowing Insulation
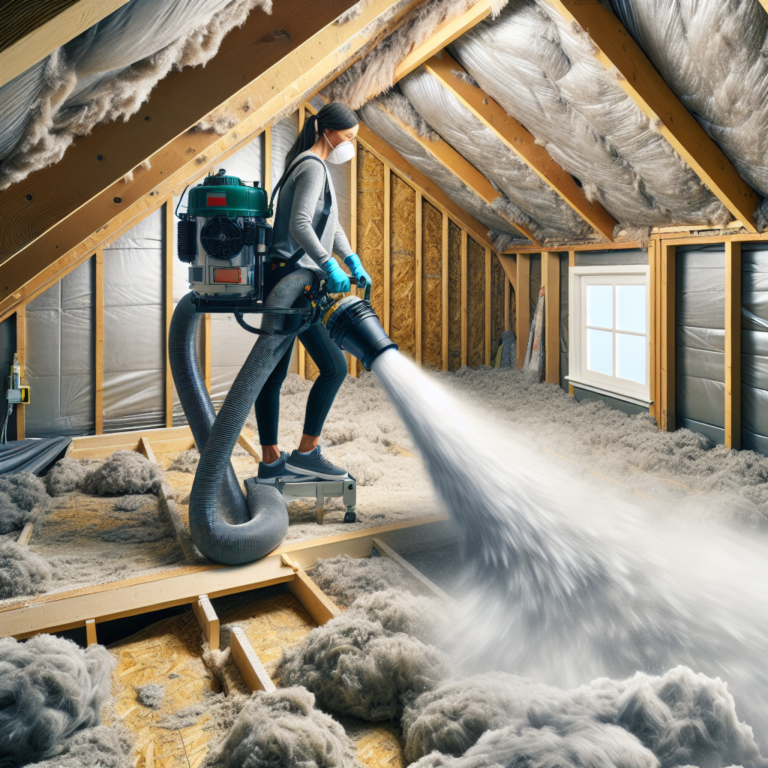
With the blower machine loaded and ready, it’s time to start blowing insulation into your attic. Begin at the farthest corner of the attic and work your way towards the attic entrance. Use a sweeping motion to evenly distribute the insulation, making sure to cover all areas of the attic. It is important to maintain a consistent depth of insulation throughout the attic to ensure maximum effectiveness.

Step 5: Fill in Gaps and Corners
As you work your way towards the attic entrance, you may encounter gaps or corners that are difficult to reach with the blower machine. In these areas, you can use a hand-held blower or simply use your hands to spread the insulation evenly. Make sure to wear gloves to protect your hands from any irritation.

Step 6: Check for Adequate Coverage
Once you have finished blowing insulation in your attic, it’s important to check for adequate coverage. Use a ruler or measuring tape to ensure that the insulation is at the recommended depth for your area. This will vary depending on your climate and the type of insulation used. If you find any areas that are not adequately covered, go back and add more insulation as needed.

Step 7: Clean Up
After you have completed the insulation process, it’s time to clean up. Make sure to properly dispose of any leftover insulation material and clean up any debris or mess in the attic. It’s also a good idea to vacuum or sweep the attic floor to remove any excess insulation.

In conclusion, blowing insulation in your attic is a relatively simple and cost-effective way to improve the energy efficiency of your home. By following these steps, you can successfully insulate your attic and enjoy the benefits of a more comfortable and eco-friendly living space. Remember to always wear protective gear and follow safety precautions when working with insulation materials. If you are unsure about any step in the process, it is always best to consult a professional for assistance. With proper insulation, you can save money on energy bills and reduce your carbon footprint, making your home a more sustainable and comfortable place to live.

Calculating the Cost of DIY Blow-In Insulation for Your Attic

Insulating your attic is an important step in making your home more energy-efficient and comfortable. It helps to keep the warm air inside during the winter and the cool air inside during the summer, reducing your energy bills and making your home more comfortable year-round. While there are many different types of insulation available, one popular option for attics is blow-in insulation. This type of insulation is easy to install and can be a cost-effective DIY project. However, before you dive into this project, it’s important to understand the cost involved in DIY blow-in insulation for your attic.

The first step in calculating the cost of DIY blow-in insulation for your attic is to determine the size of your attic. This will help you determine how much insulation you will need. To do this, measure the length and width of your attic and multiply the two numbers together. This will give you the square footage of your attic. Keep in mind that you will need to subtract any areas that are not going to be insulated, such as vents or access points.

Once you have the square footage of your attic, you can use this number to determine how much insulation you will need. The general rule of thumb is that you will need one bag of insulation for every 100 square feet of attic space. However, this can vary depending on the type of insulation you choose and the thickness of the insulation you want to achieve. It’s always a good idea to purchase a little extra insulation, just in case you need it.

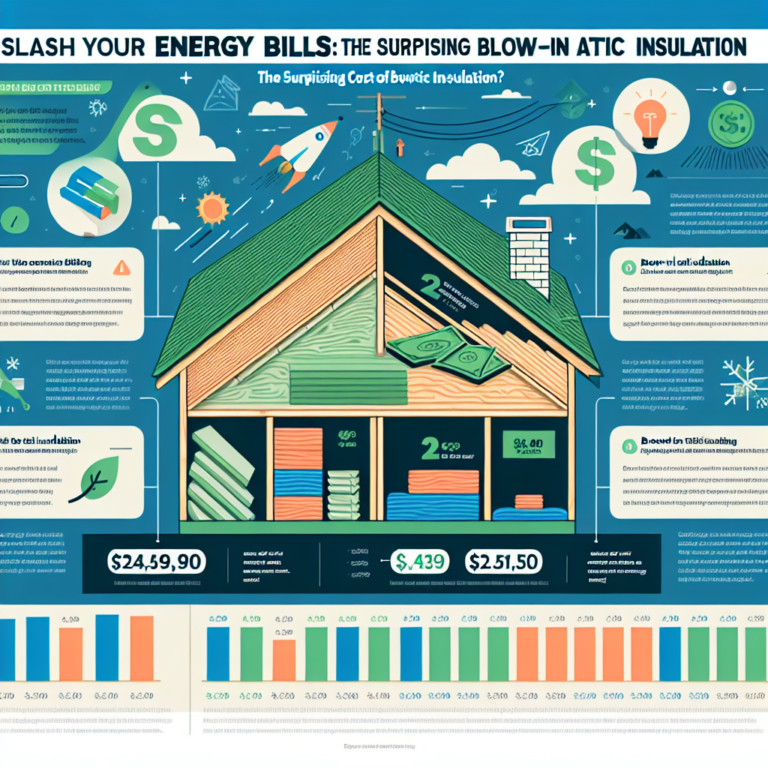
The next step in calculating the cost of DIY blow-in insulation for your attic is to determine the cost of the insulation itself. The cost of insulation can vary depending on the type and brand you choose. Fiberglass insulation is typically the most affordable option, with prices ranging from $0.20 to $0.50 per square foot. Cellulose insulation, which is made from recycled materials, is slightly more expensive, with prices ranging from $0.30 to $0.70 per square foot. Spray foam insulation is the most expensive option, with prices ranging from $1 to $2 per square foot.

In addition to the cost of the insulation, you will also need to factor in the cost of equipment and tools. To install blow-in insulation, you will need a blower machine, which can be rented from most home improvement stores for around $50 to $100 per day. You will also need a hose and a few other tools, such as a utility knife and a staple gun. These tools can be purchased for around $50 to $100, depending on the quality and brand.

Another cost to consider is the time and effort involved in installing the insulation. While DIY blow-in insulation is a relatively simple project, it can be time-consuming, especially if you have a large attic. It’s important to set aside enough time to complete the project properly and safely. It’s also important to consider the physical effort involved, as installing insulation can be tiring and may require climbing and crawling in tight spaces.

In addition to the cost of materials and equipment, it’s also important to consider the potential savings that DIY blow-in insulation can provide. By properly insulating your attic, you can save up to 20% on your energy bills. This means that the cost of the insulation can be recouped over time through energy savings.

In conclusion, calculating the cost of DIY blow-in insulation for your attic involves determining the size of your attic, the cost of insulation and equipment, and the time and effort involved. While it may seem like a significant investment upfront, the potential savings and benefits of a well-insulated attic make it a worthwhile project. With proper planning and preparation, DIY blow-in insulation can be a cost-effective and rewarding home improvement project.

Q&A

1) What is DIY blow in insulation for attics?
DIY blow in insulation for attics is a type of insulation that can be installed by homeowners themselves. It involves using a machine to blow loose insulation material, such as fiberglass or cellulose, into the attic space to create a barrier against heat loss and gain.

2) What are the benefits of using DIY blow in insulation for attics?
There are several benefits to using DIY blow in insulation for attics. It can help improve energy efficiency and reduce heating and cooling costs, as well as provide better soundproofing and moisture control. It is also relatively easy to install and can be a cost-effective option for homeowners.

3) Are there any drawbacks to using DIY blow in insulation for attics?
One potential drawback of DIY blow in insulation for attics is that it may not provide as much insulation as other types, such as batt or spray foam insulation. It also requires specialized equipment and can be messy to install. Additionally, it may not be suitable for all types of attics, such as those with irregular shapes or obstructions. It is important to carefully research and consider all factors before deciding on the best insulation option for your attic.

Conclusion

In conclusion, DIY blow-in insulation for attics can be a cost-effective and efficient way to improve the energy efficiency of a home. It can help reduce heating and cooling costs, improve indoor comfort, and even increase the value of the property. However, it is important to carefully follow instructions and safety precautions when installing blow-in insulation to ensure proper coverage and avoid any potential hazards. Overall, with proper planning and execution, DIY blow-in insulation can be a great option for homeowners looking to improve their attic’s insulation.

more insights